Introduction
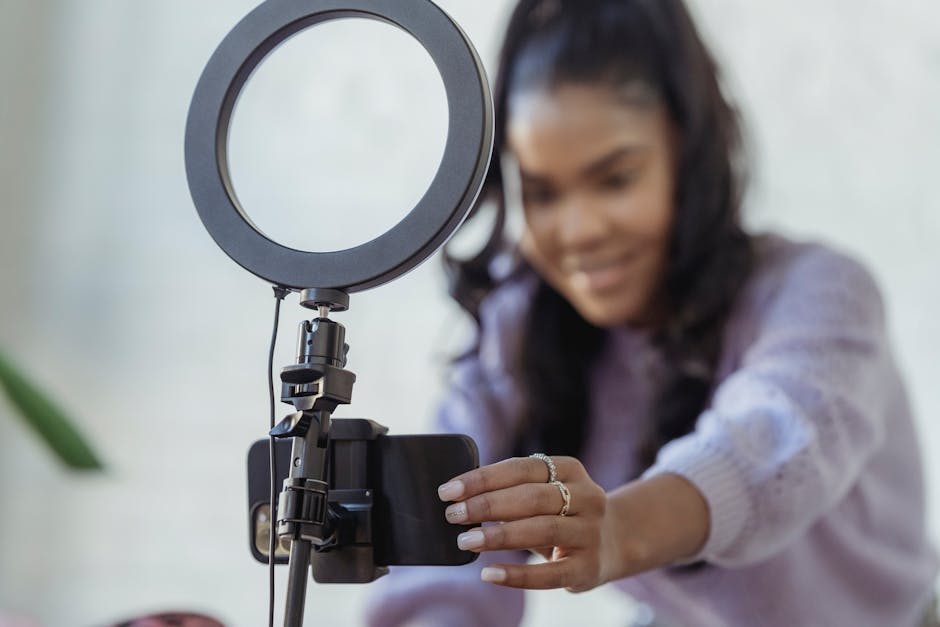
Vlogging hasn’t just survived the chaotic shifts of the digital world—it’s adapted, evolved, and found new strength. From algorithm shake-ups to platform competition, the last few years have been anything but predictable. But creators who stay agile have proven one thing—authentic video storytelling still wins.
Heading into 2024, the ground is shifting again. Content platforms are rewriting their rules. Viewers’ expectations are sharper. Short-form isn’t slowing down, but flash without substance is fading. And new tools like AI are changing how fast and how well creators can deliver.
Vloggers who pay attention are already moving. They’re niching tighter, layering more meaning into even the quickest clips, and working smarter—not just harder. If you’re a creator looking to keep pace, 2024 isn’t about chasing trends. It’s about knowing how the game is played—and showing up with something real.
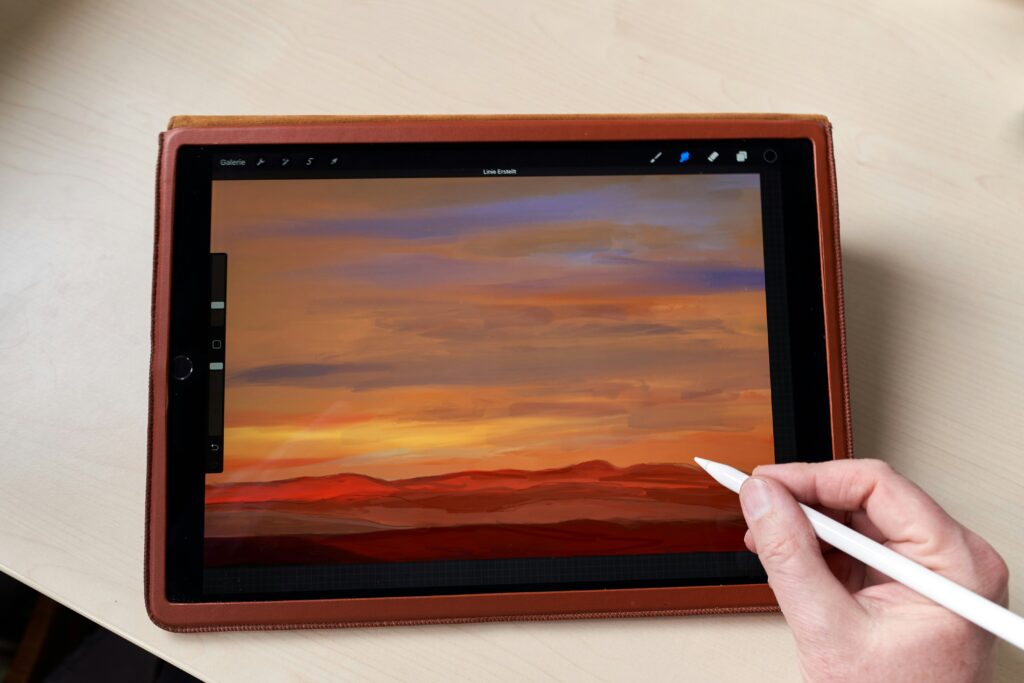
Start with a gut feeling. A color. A memory. Maybe it’s a sunlit afternoon or the edge of a thunderstorm. That mood is your compass. Before you reach for the camera or the brush, let it sink in. It sets the tone.
Next, sketch it. Quick and loose. Doesn’t matter if it’s in a notebook or on a tablet. You’re not chasing perfection. This is about shape, flow, emotion. Doodles are welcome. Anything that helps translate brain static into something you can see.
Then pick your surface. Wood if you want texture and grit. Canvas if you’re going big and bold. Paper if you’re keeping it simple or testing something out. Your medium should match your message. Surface is mood, too. Choose it with the same intention you chose that visual spark in step one.
Make Color Choices That Speak Volumes
Color is more than decoration—it’s emotion, tone, and narrative. In 2024, painters are using color in more intentional, layered ways to captivate the viewer and tell deeper stories.
Limited Palette vs. Layered Hues
Choosing between a limited palette and a vibrant, layered one is about control and expression:
- Limited palette: Offers cohesion and a minimalist aesthetic, ideal for mood-driven pieces.
- Layered hues: Allow for depth, texture, and emotional nuance through subtle color transitions.
- Creative constraint: Using fewer colors can actually spark more creative solutions.
Techniques That Transform Color Use
Color can behave differently depending on how it is applied. Mastering basic techniques enhances your ability to create atmosphere:
- Glazing: Builds luminosity by layering transparent colors.
- Staining: Embeds pigment into the surface for a more permanent wash.
- Scraping: Adds texture and reveals hidden layers by removing paint strategically.
Smart Color Choices Start with Intent
Guesswork in color leads to muddy, ineffective compositions. Train yourself to:
- Understand color temperature and relationships.
- Choose a palette based on mood, lighting, or story.
- Test combinations before committing to canvas.
Don’t guess—make informed, strategic color decisions based on your work’s message and emotional goal. A thoughtful palette can be as powerful as brushwork.
For a deeper dive into theory and application, check out our guide: Mastering the Art of Color Theory in Painting
When it comes to building a strong vlog—or a strong canvas—it’s all about the base. Creators working in mixed media know this: the right foundation makes everything work better. The same goes for vlogs that want staying power. First, set your structure. In an art context, that starts with materials like gesso to prime your surface, an acrylic paint wash to add tone, or even a simple collage base made from scraps and paper. They’re basic, yes, but they define the look and feel to come.
Now, texture. You don’t need fancy gear to get creative. A kitchen spatula can sweep bold lines, bubble wrap stamps out rhythm, and mesh from fruit bags adds layered grit. The point isn’t perfection. It’s personality. These bits of imperfection make a surface come alive—and in a creative process that’s always evolving, they matter.
Last thing: patience. Drying between layers isn’t optional—unless you want a sticky mess or muddy color. Let each stage breathe. It’s the same with storytelling. Don’t rush. Let each layer of your voice settle before you add the next.
Contrast is king. Whether you’re balancing light with dark, smooth with rough, or soft curves with hard edges, the friction between opposites is what gives visual weight to a vlogging frame. These elements guide attention and shape emotion without saying a word. A sleek edit set against raw surroundings? That’s texture you don’t have to explain.
Material choices matter too. Graphite, charcoal, or ink bring a strong mid-layer to title cards, intros, and overlays. They give your visuals character—something handmade layered into the digital. It doesn’t have to be perfect. The imperfection is often what sells it.
Working with transparent vs. opaque elements is another low-key tactical move. Transparency lets a background breathe while keeping a foreground message sharp. Opaque blocks grab attention hard and fast. Smart creators toggle between the two like switching gears. It gives your content rhythm. It lets your message cut through.
Best Adhesives by Material Type
Not all adhesives play nice with every material. Get it wrong, and you end up with warping, yellowing, or worse, things falling apart down the line. When you’re vlogging about crafts, journaling, or memory-keeping, the little stuff like this matters.
For paper, go with acid-free glue sticks or double-sided tape. Liquid glue can buckle thin sheets unless you’re using cardstock. If you’re working with photographs, photo-safe adhesive dots or dry mount tape keep things flat and clean. Stay away from hot glue—it can melt coatings and leave residue.
For cloth, fabric glue is the obvious choice, but if you need stronger hold and don’t mind some stiffness, heat-activated webbing or tacky glue will do the job. Just test on scraps first—some materials bleed or warp.
Sourcing archival materials is simpler now than it used to be. Look for labels like “acid-free,” “lignin-free,” or “archival-quality” on glues and papers. Reputable art supply stores and scrapbooking brands will flag what’s safe. Amazon has options, but read reviews and double-check specs before trusting it with something irreplaceable.
Bottom line: different materials need different treatments, and the right adhesive makes a big difference. Choose carefully and your work lasts a lot longer.
Final Steps: Finishing, Fixing, and Displaying Your Artwork
Even after the last brushstroke or charcoal line, your artwork may not be entirely complete. The final steps require just as much care as the creation process to ensure your work is protected, polished, and properly displayed.
Varnish vs. Fixative: What’s the Difference?
Choosing between a varnish and a fixative depends heavily on your medium and the desired finish.
Use Fixative When:
- Working with dry media like charcoal, graphite, or pastel
- You need to prevent smudging without altering the surface sheen
- You may want to layer over the fixative again
Use Varnish When:
- Completing oil or acrylic paintings
- You want to enhance color saturation and give a uniform finish (matte, satin, or gloss)
- You need moisture and UV protection for long-term preservation
Note: Always test on a scrap or corner before applying to the entire piece. Use in a well-ventilated area.
Tackling Final Edits and “Unfinished” Areas
It’s common to step away from your work only to notice spots that feel unresolved or incomplete. Before sealing your piece:
- Revisit your original artistic goal and intent
- Look at the artwork in different lighting to catch missed elements
- Ask yourself: Is this area truly unfinished, or does it add intentional contrast or tension?
- Consider subtle touches rather than overworking the area
A light hand in final edits often keeps the energy of your original vision intact.
Considerations for Hanging Heavier Pieces
If your piece is heavy, unconventional in shape, or includes mixed media materials, hanging requires additional thought:
Plan Ahead By:
- Using reinforced backing or a cradle to support structural integrity
- Choosing weight-appropriate hooks, French cleats, or gallery-style hanging systems
- Making sure the wall space and hardware can handle long-term display
Also Consider:
- Balance and visual alignment for multi-panel works
- How external factors (humidity, temperature, dust) may impact the materials post-installation
Proper finishing and display bring your piece from studio to statement, enhancing both its longevity and impact.
Subtractive Techniques to Bring Buried Layers Forward
Sometimes the real magic of a piece isn’t in what you add, but in what you reveal. Subtractive techniques pull out hidden stories—scraping, tearing, and sanding your way to something that feels earned, not pasted on. It’s less about building layers up and more about carving them down. Think of it as excavation, not decoration.
The tools? You already have them. Palette knife, sandpaper, scissors. These aren’t just for prep—they’re for pulling paint, tearing paper, scratching through ink. That accidental reveal under a layer of gesso or a ragged edge from a torn photo? It’s often what makes a piece come alive.
The goal is to make the final work feel discovered, not just assembled. Like it’s been through something. There’s a difference between a finished image and a lived-in one. Choose the latter.
Mixed media isn’t a sprint. It’s a crawl, a pause, and a double-take. Trust your pace. Materials behave differently. Some need time to settle. Layers dry. Textures shift. The best results come when you give them space to breathe.
Keep a test panel nearby—always. Trying a bold wash or a tricky ink? Don’t gamble on your main piece. Hit the test board first and see how it reacts. It’s a five-second move that saves five hours of regret.
Lastly, step back every few layers. Overworking is the silent killer in mixed media. When you’re too close, details get muddy. Take breaks. Change lighting. Catch the piece with fresh eyes. Stopping might just be what finishes it best.
Layered mixed media isn’t about how much you can throw at the canvas. It’s about how smart you are with the materials you choose. Every layer counts. The texture, the contrast, the unexpected pairing — it should all pull double duty. You’re not just decorating; you’re constructing ideas in real time.
Yes, it can look chaotic. That’s fine. It just can’t be random. Layered work that feels alive has intention behind every drip, tear, scratch, or swipe. There’s a method inside the mess. This is the part most beginners miss: the chaos is still mapped out, even if it looks wild on the surface.
As you get deeper into it, something shifts. You’ll stop fighting the medium and start listening to it. The glue will tell you when to stop. The paper will push you to go one step further. That’s when the materials talk back. That’s when it stops being an exercise and starts being art.
 Tavianna Vandellen has opinions about art movement discussions. Informed ones, backed by real experience — but opinions nonetheless, and they doesn't try to disguise them as neutral observation. They thinks a lot of what gets written about Art Movement Discussions, Creative Inspiration and Ideas, Artist Spotlights is either too cautious to be useful or too confident to be credible, and they's work tends to sit deliberately in the space between those two failure modes.
Reading Tavianna's pieces, you get the sense of someone who has thought about this stuff seriously and arrived at actual conclusions — not just collected a range of perspectives and declined to pick one. That can be uncomfortable when they lands on something you disagree with. It's also why the writing is worth engaging with. Tavianna isn't interested in telling people what they want to hear. They is interested in telling them what they actually thinks, with enough reasoning behind it that you can push back if you want to. That kind of intellectual honesty is rarer than it should be.
What Tavianna is best at is the moment when a familiar topic reveals something unexpected — when the conventional wisdom turns out to be slightly off, or when a small shift in framing changes everything. They finds those moments consistently, which is why they's work tends to generate real discussion rather than just passive agreement.
Tavianna Vandellen has opinions about art movement discussions. Informed ones, backed by real experience — but opinions nonetheless, and they doesn't try to disguise them as neutral observation. They thinks a lot of what gets written about Art Movement Discussions, Creative Inspiration and Ideas, Artist Spotlights is either too cautious to be useful or too confident to be credible, and they's work tends to sit deliberately in the space between those two failure modes.
Reading Tavianna's pieces, you get the sense of someone who has thought about this stuff seriously and arrived at actual conclusions — not just collected a range of perspectives and declined to pick one. That can be uncomfortable when they lands on something you disagree with. It's also why the writing is worth engaging with. Tavianna isn't interested in telling people what they want to hear. They is interested in telling them what they actually thinks, with enough reasoning behind it that you can push back if you want to. That kind of intellectual honesty is rarer than it should be.
What Tavianna is best at is the moment when a familiar topic reveals something unexpected — when the conventional wisdom turns out to be slightly off, or when a small shift in framing changes everything. They finds those moments consistently, which is why they's work tends to generate real discussion rather than just passive agreement.